How to Cook Pizza in an Outdoor Fireplace?
Cooking pizza in outdoor fireplace can transform an ordinary evening into a warm, memorable meal. However, an outdoor fireplace is not always designed like a dedicated pizza oven. Its shape, ventilation, hearth material, and heat retention can change the result considerably. Check the manufacturer’s instructions before lighting a fire, especially if the fireplace includes decorative materials or metal components.
A successful pizza needs intense, even heat. Dry hardwood, a clean cooking surface, and a reliable thermometer can help maintain suitable temperatures. The fire should burn down to glowing embers before baking begins. A pizza stone or cast-iron pan may improve the crust, but it must tolerate high heat without cracking. Keep flour, toppings, and tools close by. Hot ash moves quickly in the wind.
Small details matter. A thin dough cooks faster. Less sauce prevents a soggy center. Rotate the pizza with a long-handled peel when the crust begins browning. Watch the cheese, not only the clock. Cooking times may vary from a few minutes to much longer, depending on the fireplace and weather. That uncertainty is easy to underestimate.
This guide explores fire preparation, dough handling, heat control, equipment, and safe serving practices. It also addresses common mistakes, including excessive flames and uneven cooking. Some pizzas may emerge darker than expected. That is not always failure, but it deserves reflection. With patience, careful observation, and respect for fire, an outdoor fireplace can produce crisp edges, smoky flavor, and a genuinely satisfying homemade pizza.
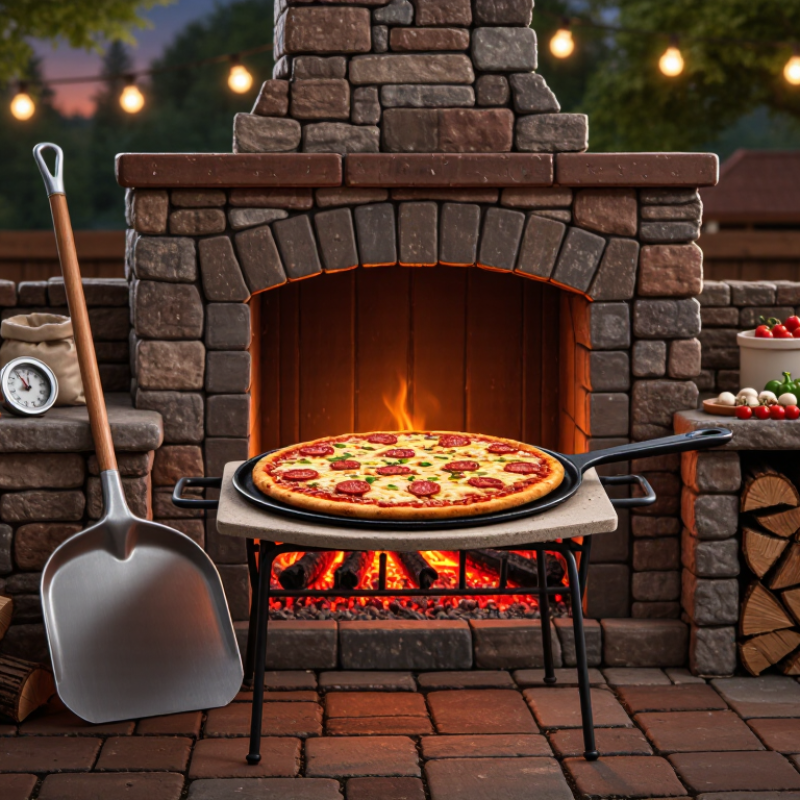
Table of Contents
[Hide]
Choosing the Right Outdoor Fireplace and Pizza-Cooking Setup
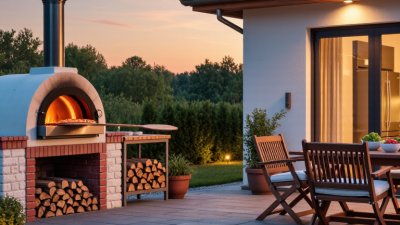
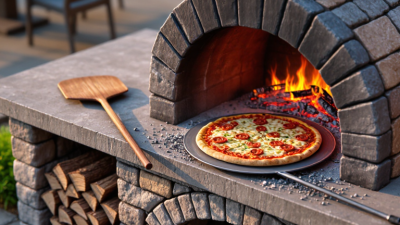
Choosing the right outdoor fireplace determines whether your pizza cooks evenly or burns underneath. I prefer a fireplace with a refractory interior, a level hearth, and strong natural draft. These features hold heat and move smoke away from the cooking area. Check local fire regulations and the fireplace instructions before installation. Keep the structure away from fences, branches, and flammable furniture.
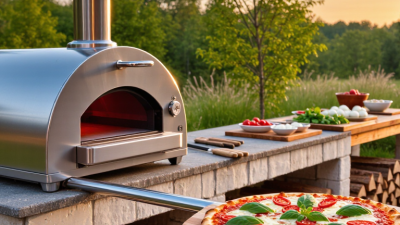
A pizza oven insert can improve control, but it needs enough room for airflow. The cooking floor should sit at a comfortable working height. I use a thick pizza stone or firebrick surface because thin metal often creates harsh hot spots. A small infrared thermometer helps me check the floor temperature. Around 400 to 480°C usually suits fast, thin pizzas, while thicker bases need gentler heat. Temperatures vary.
Prepare the fire at least 45 minutes early. Burn dry, untreated hardwood and push the glowing embers to one side. This creates a hot zone and a cooler turning area. I once rushed this step and served a pale crust with a black edge. Not ideal. A long-handled peel, heat-resistant gloves, and a metal ash tool make the setup safer. Leave clear space around the fireplace, and never abandon a live fire. Rotate the pizza every 20 to 30 seconds, watching the crust rather than relying only on a timer.
How to Cook Pizza in an Outdoor Fireplace? - Choosing the Right Outdoor Fireplace and Pizza-Cooking Setup
| Outdoor Fireplace or Setup | Pizza-Cooking Suitability | Recommended Fuel | Target Cooking-Surface Temperature | Typical Preheating Time | Approximate Cooking Time | Essential Equipment | Main Advantages | Important Limitations and Safety Notes |
|---|---|---|---|---|---|---|---|---|
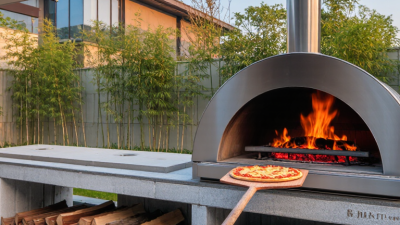
| Dedicated Wood-Fired Pizza Oven | Excellent | Seasoned hardwood or approved kiln-dried firewood | 370–430°C (700–800°F) for Neapolitan-style pizza | 45–90 minutes, depending on oven mass and weather | 60–120 seconds at high heat | Pizza stone or refractory floor, wooden or metal peel, infrared thermometer, heat-resistant gloves, ash rake | Very high heat, strong top-and-bottom cooking, and fast browning | Requires proper ventilation, a stable non-combustible base, and clearance from combustible structures. Use only dry, untreated wood. |
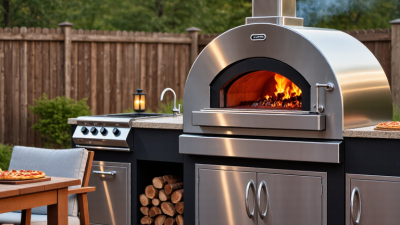
| Masonry Outdoor Fireplace with a Purpose-Built Cooking Chamber | Very good when correctly designed | Dry hardwood or another fuel approved by the fireplace manufacturer | 315–400°C (600–750°F) | 60–120 minutes | 2–5 minutes | Firebrick cooking floor, insulated dome or chamber, pizza peel, thermometer, brush, heat-resistant gloves | Can provide authentic wood-fired flavor and retain heat for multiple pizzas | A decorative fireplace is not automatically a pizza oven. The cooking chamber must be designed for food preparation, heat circulation, and smoke evacuation. |
| Conventional Open Outdoor Fireplace | Limited and generally not recommended for direct cooking | Fuel specified for the fireplace, usually dry firewood | Often uneven and difficult to measure accurately | Varies widely | Usually more than 5 minutes, with inconsistent results | Only use a cooking grate or approved insert if the fireplace is rated for cooking; add a thermometer and heat-resistant tools | May warm a cooking area and support indirect cooking with a suitable approved accessory | Do not place dough directly on ordinary hearth masonry unless it is rated for food cooking. Open flames, soot, falling embers, and uneven heat can burn the crust or create unsafe conditions. |
| Gas-Fired Pizza Oven Insert | Very good | Natural gas or liquefied petroleum gas, as specified for the appliance | 315–430°C (600–800°F), depending on the model | 15–30 minutes | 2–5 minutes | Pizza stone or steel, peel, infrared thermometer, gas-approved regulator and connection, heat-resistant gloves | Fast startup, easy temperature control, and consistent heat | Use only an appliance and enclosure approved for outdoor installation. Keep gas connections protected, inspect hoses regularly, and follow local installation rules. |
| Charcoal Kettle or Ceramic Grill with a Pizza Insert | Good | Lump charcoal or approved charcoal briquettes | 300–400°C (570–750°F) | 30–60 minutes | 3–7 minutes | Pizza stone, elevated pizza insert or heat shield, lid thermometer, infrared thermometer, long-handled tools | Can reach high temperatures and adds a light smoky character | Maintain airflow without blocking vents. Never use charcoal indoors or in an enclosed outdoor room, because carbon monoxide can accumulate. |
| Outdoor Gas Grill with a Pizza Stone | Good for occasional pizza | Fuel specified for the grill | 260–315°C (500–600°F), or the maximum safe operating temperature stated by the manufacturer | 15–30 minutes with the lid closed | 5–10 minutes | Heat-resistant pizza stone, raised rack or indirect-heat setup, peel, lid thermometer, infrared thermometer | Convenient and suitable for thin-crust or medium-thickness pizza | Do not put a cold stone on an intensely hot surface. Avoid direct flame contact with the stone and allow the stone to cool naturally to reduce thermal-shock damage. |
| Portable Electric Outdoor Pizza Oven | Good where outdoor electricity is available | Electricity | Typically 260–400°C (500–750°F), depending on the appliance | 15–30 minutes | 2–6 minutes | Suitable outdoor-rated power supply, baking surface, peel, thermometer, weather protection | Precise heat control, little smoke, and simple cleanup | Use only outdoors or in a location specifically permitted by the appliance instructions. Keep electrical connections dry and use appropriate ground-fault protection where required. |
| Cast-Iron Pan or Dutch Oven in an Outdoor Fireplace | Suitable for thick-crust pizza | Fireplace-approved wood or charcoal | Approximately 220–300°C (425–570°F) inside the cooking vessel | 30–60 minutes for the fire and vessel | 10–20 minutes | Preheated cast-iron pan or Dutch oven, lid lifter, heat-resistant gloves, long-handled tools | Produces a crisp bottom and well-browned, thicker crust without requiring a dedicated pizza oven | Use cookware rated for live-fire conditions. Hot cast iron remains dangerous long after cooking; place it on a stable, non-combustible surface. |
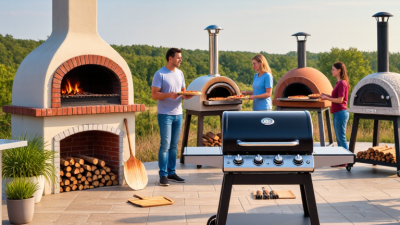
| Portable Pizza Oven on a Non-Combustible Stand | Excellent for flexible outdoor use | Wood, gas, or electricity, depending on the appliance design | Approximately 315–430°C (600–800°F) | 15–60 minutes | 1–5 minutes | Level non-combustible stand, peel, thermometer, fuel accessories, heat-resistant gloves, fire extinguisher or water source where appropriate | Can deliver dedicated-oven performance without constructing permanent masonry | Leave the clearance specified in the instructions on every side and above the oven. Do not operate under low roofs, overhangs, or enclosed patios unless explicitly approved. |
General setup guidance: Preheat the cooking surface until it reaches the desired temperature, launch the pizza onto a lightly floured or semolina-dusted surface, rotate it regularly for even browning, and verify that the center is fully cooked. Keep children and flammable materials away from flames, embers, hot doors, stones, and metal tools. Always follow local fire regulations and the installation and operating instructions for the specific outdoor appliance.